[Answer ID: 13609]
Creating a Virus Quarantine Folder before activating Virus Check function.
Created 09/29/2011 05:14 | Updated 02/03/2012 04:54
After installing antivirus software, create a quarantine folder for files detected by the virus scan.
- Open the TeraStation's Web Admin interface.
In NAS Navigator2, right-click (for a Mac, click while holding down the Control key) the TeraStation icon and select [Open Web setting]. The Web Admin interface will open.
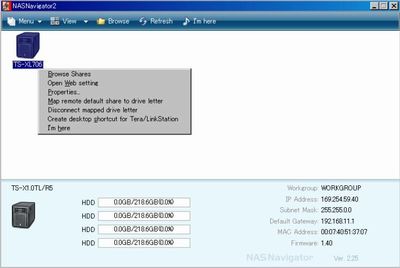
These examples show a TS-XL TeraStation. Your TeraStation's icon may be different.
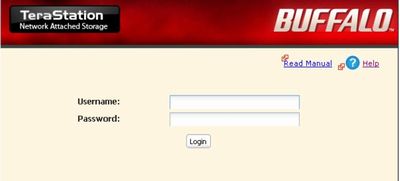
- Enter your username and password, then click [Login].
The default username is "admin" and the default password is "password".
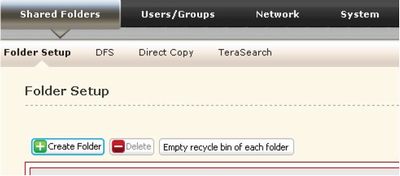
- In the Web Admin interface, click [Shared Folders]-[Folder Setup]-[Create Folder].
- Configure the desired settings, then click [Save].
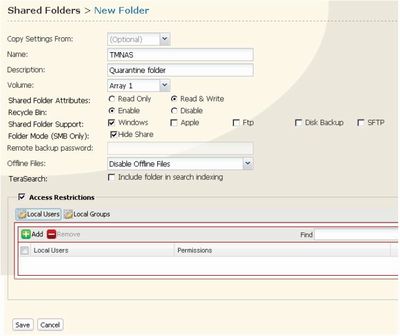
The following settings are recommended for the quarantine folder.
[Folder Mode (SMB Only)] : [Hide Share]
[Recycle Bin] : [Enable]
[Access Restrictions] : [Read & Write]* (*For administrator only)
-If the quarantine folder is deleted or the RAID configuration is changed, a shared folder named "TMNAS" is automatically created as a quarantine folder. Folder attributes, recycle bin, and access restrictions use the setting above.
You have created a quarantine folder.
Details
Products
OS / Hardware
Was this answer helpful?
Please tell us how we can make this answer more useful.