[Answer ID: 13692]
How can I replace a hard drive and rebuild a RAID array in the LinkStation? (LS-QVL)
Follow this procedure to replace a failed hard drive.
If a drive in your LinkStation fails, identify the failed drive from Settings by navigating to [System] – [Storage]. The failed drive can also be identified by the status LED, where the corresponding LED will glow red. Replace it with a Buffalo Technology OP-HD series drive of the same capacity, available from www.buffalotech.com.
Drives in RAID 1, RAID 5, or RAID 10
When the RAID is rebuilt, your data is copied to the new drive. No data is lost in this case.
If the other drive fails before your new drive is installed, all data on the array will be lost.
Drives in RAID 0 or normal mode
All data on the failed drive and any array that it was part of is lost.
| 1. |
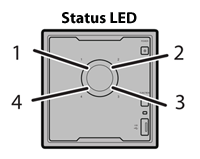
The status LED of the failed drive will be red. Note the status LED number. This number corresponds to the number of the hard drive that will be replaced.
|
||||
| 2. |
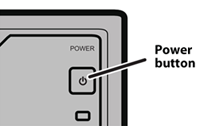
Hold down the power button for three seconds. When the LinkStation finishes powering down, remove all cables.
|
||||
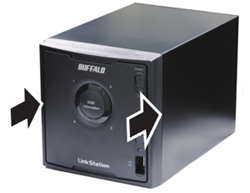
| 3. |
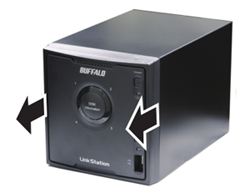
The front cover that is secured by magnets. Pull it forward to remove it.
|
||||
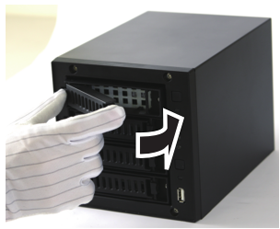
| 4. |
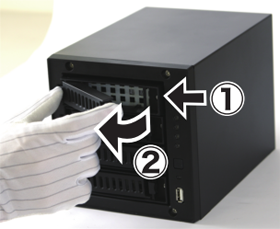
Push the unlock button and swing the lock mechanism out.
|
||||
| 5. |
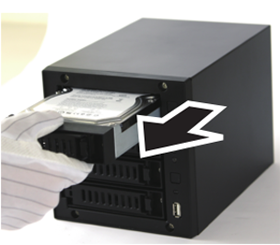
Pull out the drive cartridge and remove it from the LinkStation.
|
||||
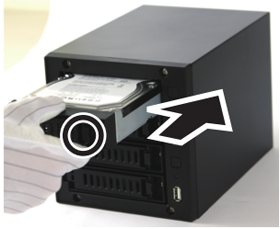
| 6. |
Insert the new drive in the empty slot. Slide the drive in with the locking mechanism open.
|
||||
| 7. |
Swing the lock back down until it clicks into place.
|
||||
| 8. |
Replace the front cover.
|
||||
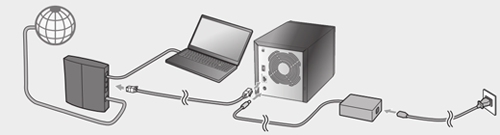
| 9. |
Reconnect all cables.
|
||||
| 10. |
Hold down the power button to turn on the LinkStation.
|
||||
| 11. |
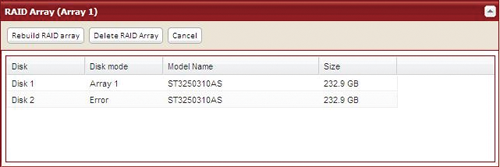
If your LinkStation is in RAID 1 or RAID 5, RAID 10, or RAID 0, navigate to [System] - [Storage] - [RAID Array] in Settings. Highlight the RAID array, then click [Rebuild RAID array].
Notes:
|
||||

The LinkStation is now ready to use.
Note:
For more details, see the separate document "Hard Drive Replacement Procedure", available from here.
Details